Everynuc 2 beespace
The Everynuc poly nuc sold by Thorne’s is a clever design. However, the British National version is a bit of a compromise where beespace is considered and, as purchased, may not accommodate national frames properly. It can be improved relatively easily but requires a small amount of woodworking, some Gorilla glue and the confidence to take a saw to your recent £47 acquisition.
The problem
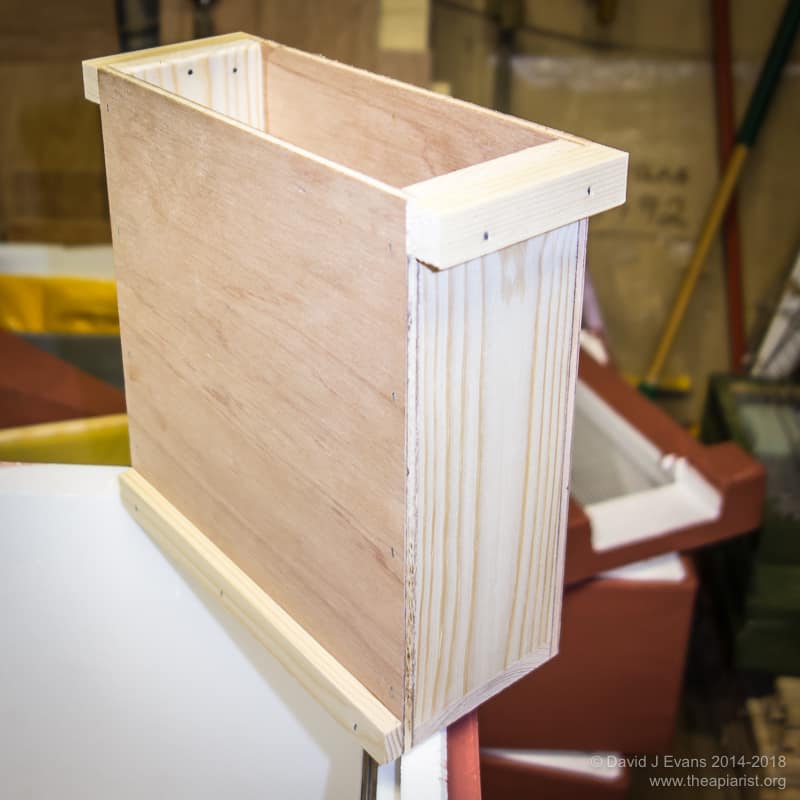
Everynuc feeder …
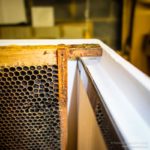
The Everynuc 2 accommodates national frames in what is a Langstroth-sized box by having an internal feeder at one end of the box. The frame rests on the upper edge of one side of the feeder and the opposite end of the box – presumably the entrance end of the nuc hive. An 8mm thick piece of stripwood on the lower edge of the feeder stops the frame sliding ‘back’ (because the box is much longer than the top bar of a national frame), potentially crushing bees and certainly destroying beespace. The box is supposed to be top beespace – it’s not really, particularly since the (Bayer manufactured!) plastic crownboard sags a bit. However, in those I currently own the feeder was too close to the crownboard, making it almost top beespace at one end of the frame and something much less at the feeder end (a more complete review and more photographs have been posted here previously). Furthermore, in the three boxes I painted this weekend the combination of incorrect top beespace and the thickness of the stripwood at the bottom of the feeder prevented the frame properly sitting on the frame rest at the opposite end of the box (see photo below right).
- Feeder end beespace …
- Close …
The solution
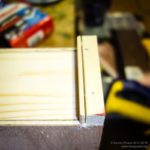
- The side supporting lugs for the feeder need to be reduced in depth by removing about 3mm from the bottom of them (the bit in contact with the sidewall of the nuc box). In the half-dozen boxes I’ve modified so far the lugs are all attached using glue and a nail gun. Belt and braces. In about half of them the nail hasn’t been driven in straight and the saw fouls it … simply remove the nail using strong pliers. Both sides need to be cut down by the same amount.
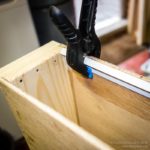
- Add a frame runner to the inside of the feeder. I’ve used plastic frame runners and stuck them in places using Gorilla glue. It needs to be just proud of the top of the wooden panel on the feeder (any higher and the bottom of the frame is raised above the wood spacer at the bottom of the feeder). Clamp the runner in place and then trim away any glue that’s oozed out once everything has set.
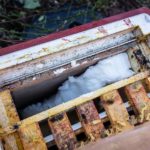
- Add a cross bar of 9mm stripwood to act as a framestop, preventing the frames shifting ‘back’ as described above. It’s easy to add syrup or fondant directly into the feeder, but the crossbar removes any chance of the frame moving.
- Reduce depth of lug
- Add frame runner
- Add framestop
These minor modification fix the top beespace problem and make the frames fit properly. The framestop makes transporting (e.g. by car or hivebarrow) these boxes much easier. The reduction in depth of the supporting lugs doesn’t alter the 1-2mm that the bottom of a frame overlaps the 8mm stripwood on the bottom of the feeder (see the top picture). However, with top beespace, any slight bump lifts the frame clear of this stripwood and it can then slide back, crushing bees between the sidebar of the frame and the feeder. The addition of a framestop across the top of the feeder fixes this defect.
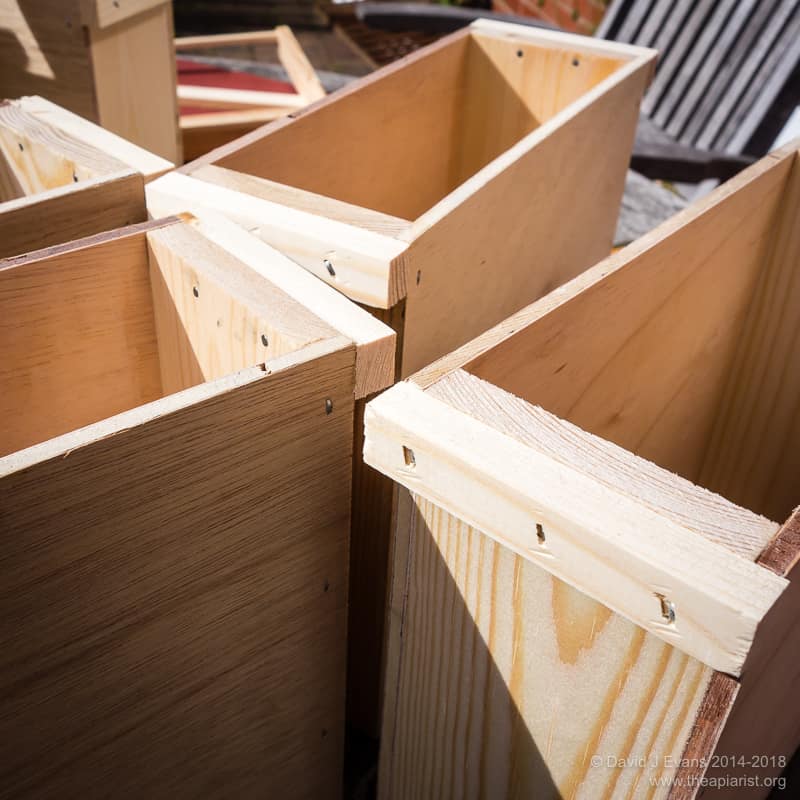
Everynuc feeder …
Note – this post was written originally in March 2015 about Everynucs purchased and delivered in late 2014. I have subsequently purchased and received a further 18 Everynucs (received April 2015) which appear to have a slightly shallower ‘lug’ on the feeder. Those I’ve tested don’t appear to show the problem illustrated above, with the frame not seated on the runner. I can’t make a side-by-side comparison as I’ve already modified all of the original Everynucs I received. However, they all still have the wrong beespace at the non-feeder end, the solution for which is described below.
You’ve not finished yet …
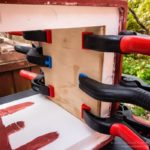
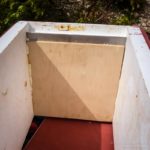
The beespace at the non-feeder end of the nuc box is still wrong. I overwintered a number of colonies in these nucs* and all had built brace comb between the frame end bars and the wall of the box, making frame removal messy and disruptive. The incorrect beespace is due to the long lugs on a National frame being used in a box where the frame rests are designed for the short lugs on a Langstroth frame. To overcome this simply glue a piece of 8-9mm ply onto the end wall of the nuc. A piece of ply 20.4 x 20.5 cm (w x h) restores beespace. I’ve used Gorilla glue to hold it in place in the half-dozen modified recently. Since Gorilla glue doesn’t seem to form an irreversible joint with dense polystyrene I reckon I can take these apart if they are unsuitable (famous last words … and don’t trust me on this, test it yourself first).
- Stop wriggling …
- That should do it …
- Only 18 to go …
It seems a shame to have to modify what is probably one of the most expensive poly-nucs on the market. However, I remain reasonably certain that this is the best currently available. These boxes should last 20+ years if properly maintained and so justify a small amount of effort at the beginning to improve them.
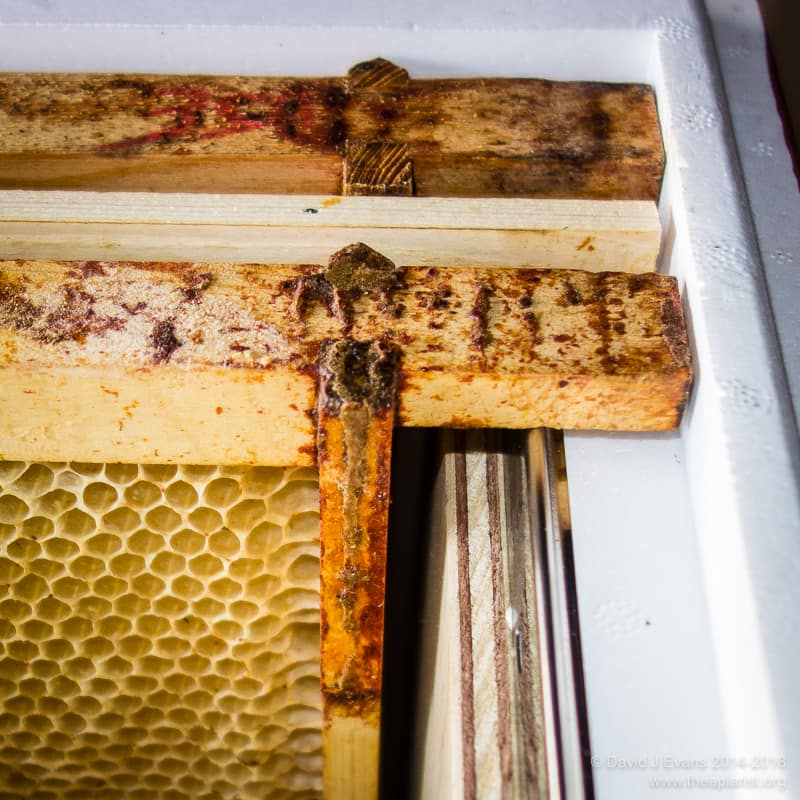
Fixed …
The final task is to design a suitable entrance reducer to prevent robbing by wasps late in the season, to stop mice getting in during the winter and that allows my recently acquired Sublimox oxalic acid vaporiser to be used when required. Since wasps, mice and OA treatment are ages away I’ll leave this exercise for another day …
- I should add in closing that colonies overwintered extremely well in these nucs. Some were stronger coming out of the winter than full colonies that had gone in strong in September. I only fed with fondant, gently dropping slices into the feeder through the autumn.

Join the discussion ...