Bigging up nucs
The phrase bigging up [somebody or something] means saying they are very good, usually in public {{1}}. It is slang and used informally and usage has increased significantly in the last couple of decades.
The term bigging in bigging up meaning promotion, is relatively new. However, the same word can be traced back to Middle English and (a bit more more recently) obsolete Scottish, when it meant build.
Two days work bigging a brick wall in the Braidfoots house {{2}}.
Anyone who has used nucs, for queen mating or swarm control for example, is likely to big them up … as in sing their praises. Small enough to need only limited resources to start them, large enough to function as a self-contained and resilient colony etc.
However, in this post I’m going to discuss bigging up nucs in the older meaning of the phrase … building them up from a nuc to a full colony.
Which could also, of course, be considered as promoting them ?
Problems with history and latitude
One of the perils of writing about beekeeping in the UK is the variation in the season between the south and the north of the country.
Just as you can’t be prescriptive in any one location about when certain events in a particular beekeeping year occur – e.g. swarming, winter bee production, broodlessness – it’s also pretty obvious that the season is longer {{3}} at lower latitudes.
It’s therefore not possible to say ‘in late May’ or ‘by mid-June’ nucs will start to be overcrowded {{4}}. Not only does this depend upon the local climate, but it is also significantly influenced by how the nucs were prepared.
If the nuc was established for swarm control, started with the old queen and 1-2 frames of brood, it is likely to have built up rapidly and will quickly overrun the box if not dealt with promptly.
Alternatively, if the nuc was used for queen mating, started with a sealed cell (or virgin queen) and a frame of emerging brood, it will build up less fast as the queen has to get out and mate and then start laying.
Overcrowding
Whatever the history (or the latitude), at some point the colony will grow to be too large for the box. Then, but ideally earlier (so you are prepared), you need to decide what you are going to do with them.
With experience you can judge overcrowding by gently popping the lid up and peering through the thin plastic or polycarbonate crownboard.
I use Thorne’s Everynucs which have an integral feeder at one end of the box. When they start building brace comb in the feeder they need to be given more space.
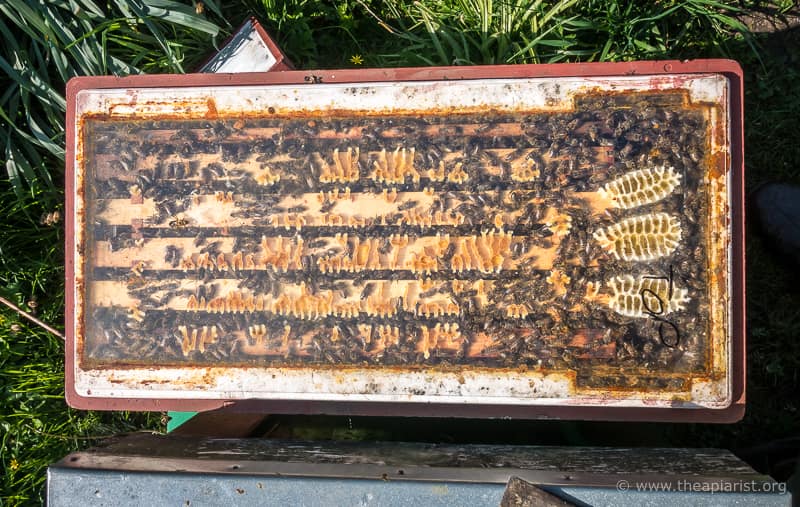
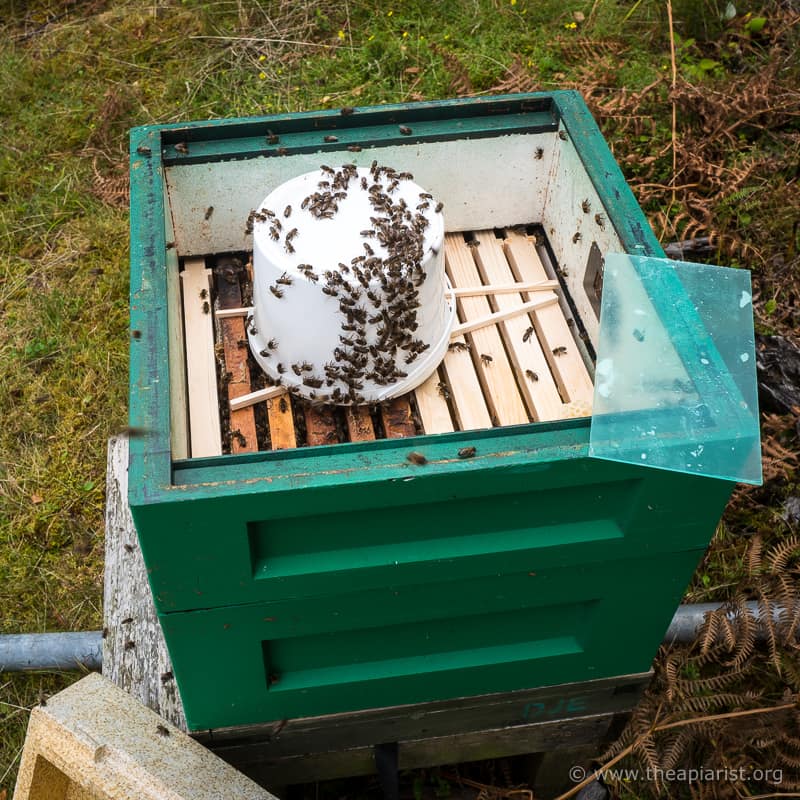
Here’s one I prepared earlier
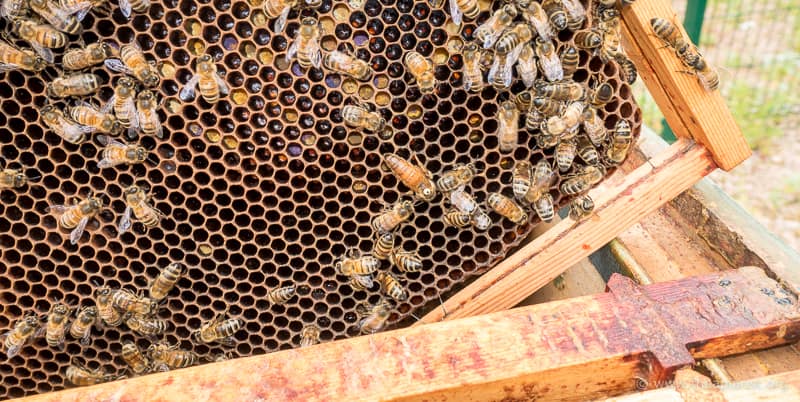
The colony above is overwintered and very clearly overcrowded. The photo was taken in the third week of April (in Scotland). By mid-season, a colony that crowded would have probably swarmed.
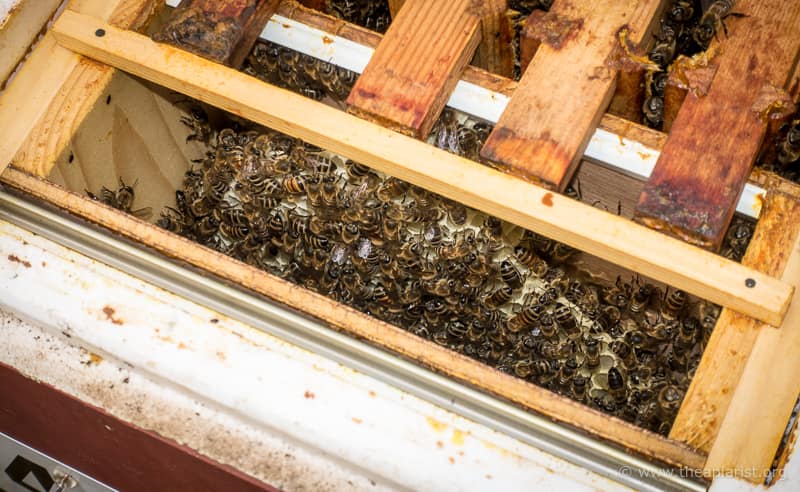
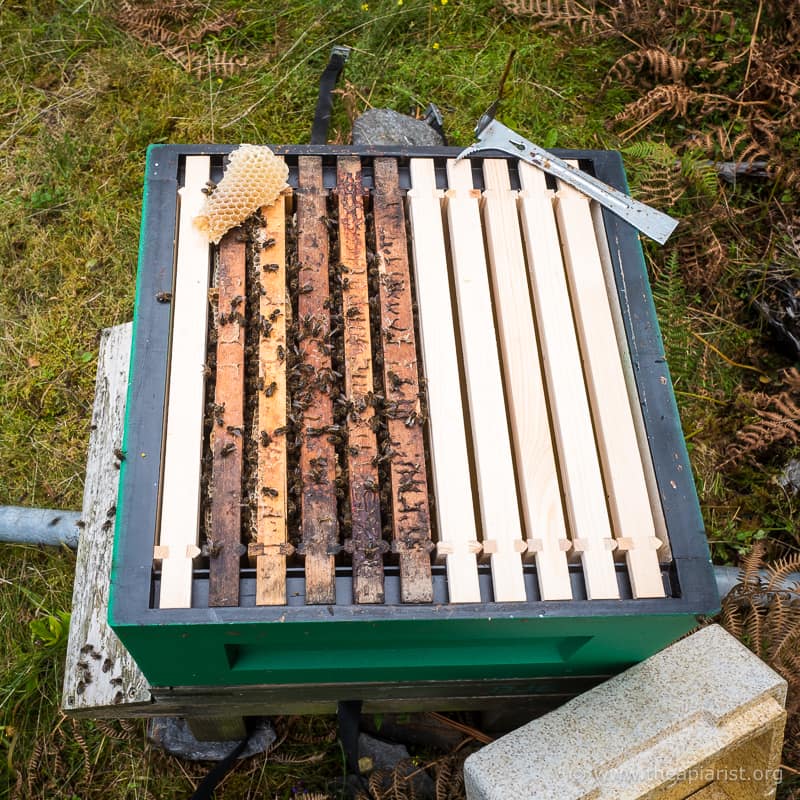
The photo immediately above was taken in late June this year. The nuc was set up in mid-May for swarm control with the queen and just one frame of emerging brood.
However, in the intervening six weeks I had already removed two or three frames of sealed brood (but not adhering bees) to boost other colonies, replacing the frames with a mix of drawn comb and foundation, all of which had been drawn and filled again.
Nucs can build up very fast … be warned.
Decision time
Nucs are really versatile. Your choice includes (but isn’t restricted to):
- Overwintering the nuc
- Expanding the nuc into a full hive
- Uniting the nuc with a queenless colony
- Removing the queen and uniting the nuc with a queenright colony
- Leaving it too late and letting them swarm ?
I’m not going to discuss the last option, but it is an inevitability if the colony is healthy and there’s a reasonable amount of forage in the area.
‘One more week’ for a nuc is usually not worth risking.
Overwintering nucs deserves a post of its own (and has been covered some time ago {{5}}). It’s worth noting that nucs started in May for swarm control or for queen mating require a lot of maintenance if they are not to outgrow their accommodation by the end of the season. You need to regularly remove bees and brood or the colony will swarm.
It is much better to start nucs later in the season for overwintering.
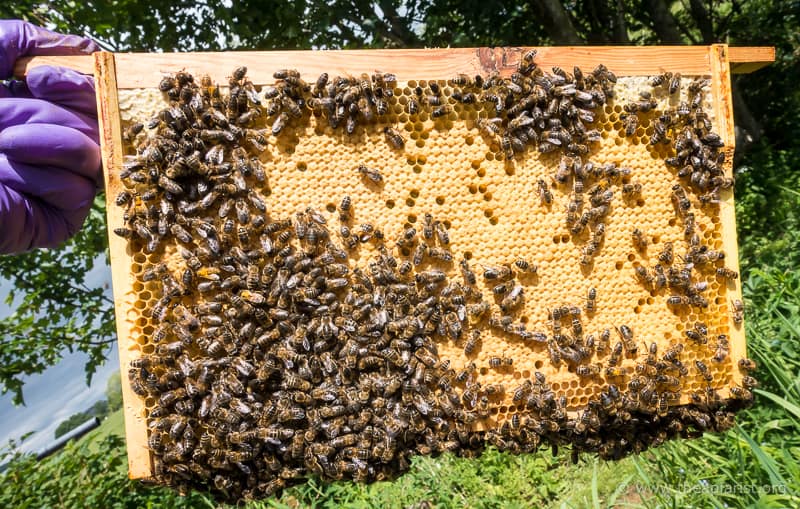
Before doing anything with the nuc it is worth confirming that the queen appears well mated and is laying well {{6}}. She should be producing frame after frame packed with brood. In new(ish) comb you can easily tell her quality based upon the presence of even sheets of brood, with relatively few missed cells.
The frame above is from a nuc this spring. The majority of the missed cells, at least at the top of the frame, are due to the wires in the foundation.
And, while you’re at it, use this opportunity of the last inspection of the nuc to mark and clip the queen (if she isn’t already). It’s always easier to find a queen in a nuc – fewer bees, less frames to hide on the other side of etc.
From nuc to a full brood box
This is about as easy as it gets and should take no more than 5 minutes if you have everything to hand.
- Move the nuc a metre or so away from its original location.
- Place a new floor and a brood box on the original site.
- The brood box should contain a couple of frames of drawn comb if you have them, or frames with fresh foundation. Place one next to each side wall (see note below for comment on warm and cold way).
- If the floor has open mesh I slide in the Varroa tray. I do not want the bees to be distracted by smells from other ‘potential’ routes into the hive.
- Open the nuc using a very small amount of smoke {{7}}.
- Remove the dummy board from the nuc and gently separate the frames if they’re propolised together.
- Transfer each frame to the new brood box maintaining their position and orientation relative to the neighbouring frames. Arrange the frames from the nuc close to the new hive entrance (see below).
- Ideally , make sure the queen is seen … just to give you confidence ?
- Move the second new frame of drawn comb or foundation to ‘sandwich’ the frames from the nuc.
- Fill the rest of the box with frames containing drawn comb or new foundation.
- Replace the dummy board removed in #6 above.
- Add syrup if needed – see below.
- Replace the crownboard and roof.
- Reduce the entrance to help the colony defend their new, much larger, residence.
Feeding
If there is a good nectar flow you may not need to feed the colony. If you’ve used new foundation rather than drawn comb then they probably will need feeding. It’s important they draw new comb so the queen can continue laying uninterrupted. This ensures they build up rapidly.
Use thin syrup (1:1 by weight of sugar and water) in a contact feeder.
I usually give nucs a gallon or so of syrup to help them draw comb. They use this surprisingly fast. Check them every 48 hours.
My crownboards lack holes, so I place the contact feeder directly above the top bars, separated by a couple of spare frame bottom bars. I add a super to ‘house’ the contact feed and then close the hive up.
Defending the hive
All of my full-sized hives are arranged warm way. This means the frames are parallel with the entrance of the hive. The alternative, cold way, has the frames perpendicular to the entrance.
To help the small colony defend the new large box they are in, the nucleus frames should be located close to the hive entrance.
Initially, these are the frames that are covered in bees, so providing a deterrent to any potential robbers.
It may also help to reduce the size of the hive entrance so the bees only need to defend an inch wide hole, rather than the full width of the box.
If your hives are organised ‘cold way’ the same requirements apply – arrange the bees near to the entrance and reduce the entrance width. For example, place the frames in the centre of the hive, flanked on each side by three new frames, and leave a narrow central entrance open.
Finally, do not slop syrup around all over the place when feeding them. It’s a near-certain way to encourage robbing (particularly if there’s a shortage of nectar).
Uniting the nuc with a queenright or queenless colony
I can deal these two together because the only difference is where the queen is in the stacked boxes at the end of the procedure.
Collect together the things you will need:
- A new brood box
- Two sheets of newspaper
- Six frames of drawn comb or foundation
Queens
If the hive and the nuc are both queenright you must remove the unwanted queen {{8}}.
Typically this is when you have used the nucleus method of swarm control. The colony has reared a good new queen and the old queen in the nuc is now surplus to requirements.
Alternatively, the colony might have generated a sub-standard or poorly mated queen and you want a single united colony headed again by the original queen.
If the old(er), unwanted queen is still laying OK consider offering her to someone else in your association. Remove the queen, does not necessarily mean sacrifice her.
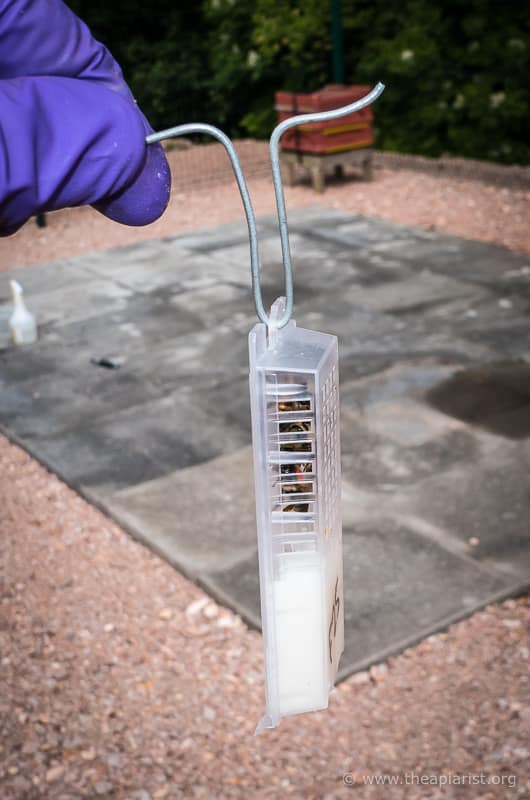
Place the queen in a introduction cage with some attendant workers and some candy. Put her somewhere safe (the breast pocket works for me) and give her to someone who needs her more than you do … perhaps in exchange for a nice bottle of merlot {{9}} ?
Don’t risk leaving two queens in the same box and hoping the ‘better’ one (i.e. the one you want) will survive the ruckus that will happen.
Sod’s Law dictates that the queen you want will not make it … particularly if it’s late in the season, she’s particularly good or she’s otherwise precious.
Uniting
I generally move the nuc to the hive it is being united with. Waft some smoke at the hive entrance, remove the roof and gently lift the corner of the crownboard. Add a second gentle puff of smoke into the gap and let the bees move down.
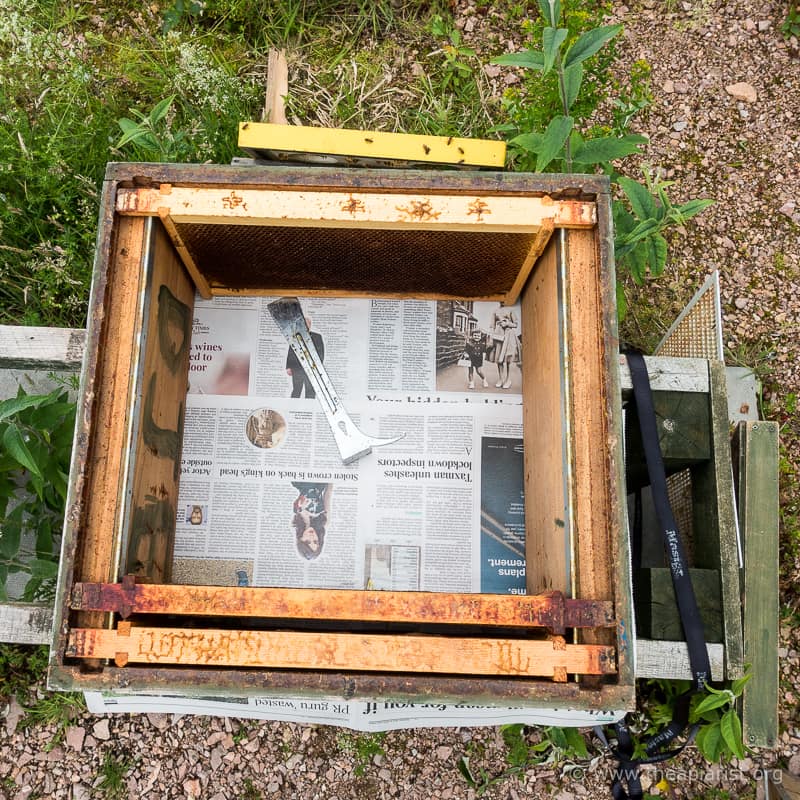
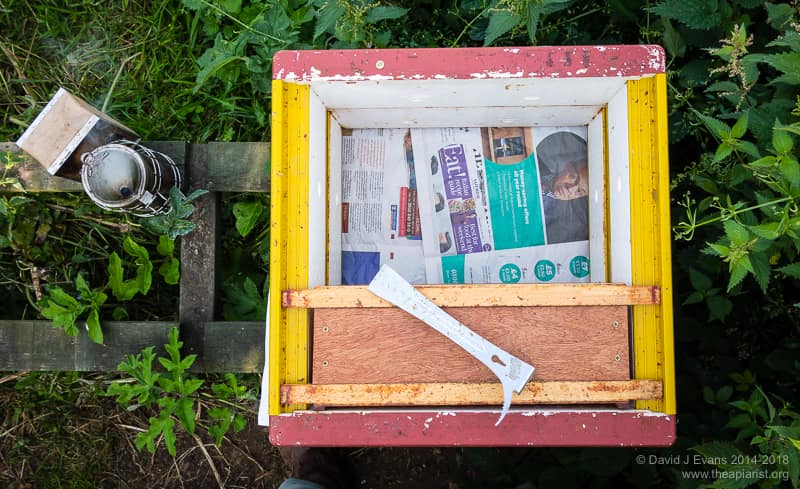
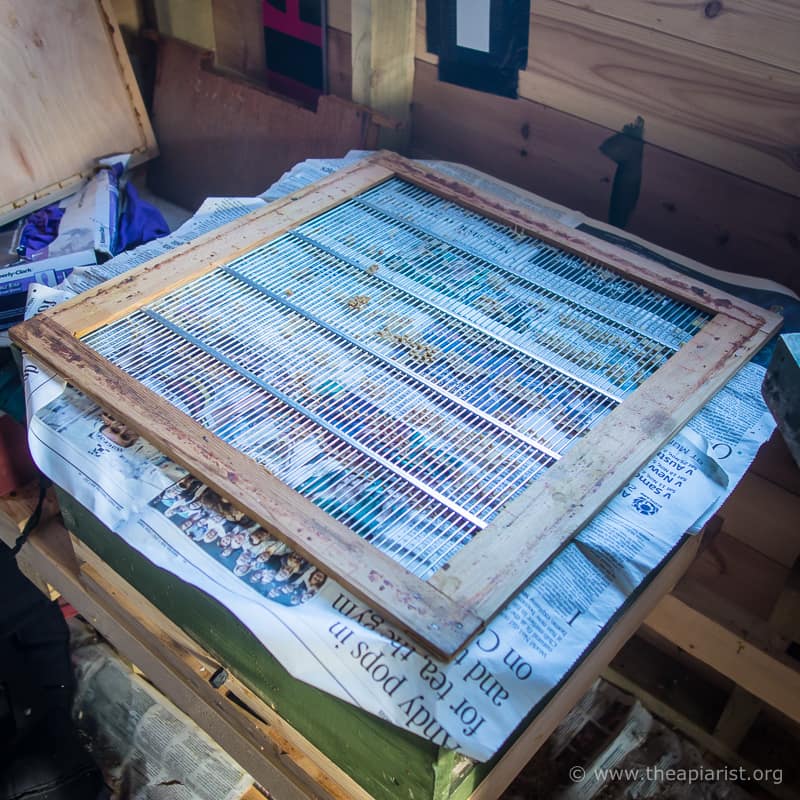
Remove the crownboard and gently lay two intact sheets of newspaper flat over the tops of the frames. It helps to remove brace comb from the top bars as it can puncture the newspaper and lead to premature mixing and a bit of a melee.
In the good old days a single page from a broadsheet {{10}} newspaper was sufficient. These days I think you have to read the Financial Times to achieve this.
Assuming you’re not Gordon Gekko, a hedge fund manager or derivatives trader you will probably need two slightly overlapping sheets. Don’t bother about moving all the bees off the top bars – they’ll move down soon enough once you put the newspaper on.
If it’s windy use your initiative, recruit a helper or evolve at least one additional limb to hold the newspaper in place.
Add a second empty brood box on top.
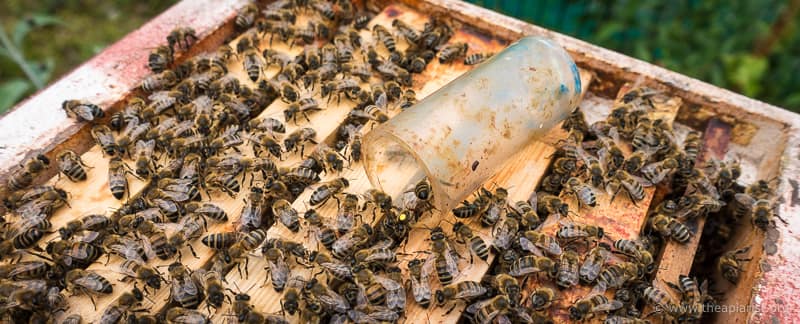
Make a small hole (about the size of the o in hole) in the sheet using your hive tool, somewhere near the middle, above a gap between two frames. You can just see the hole above the curve of the hive tool here …
Add two or three frames of drawn comb or foundation. Transfer all the frames from the nuc to the new brood box, as before, maintaining their order and orientation. Fill the rest of the box with frames, shake in the last bees from the nuc box and close the hive up.
As before, if you are uniting a queenright nuc with a queenless hive, it’s always good to be certain the queen was on one of the frames transferred to the new box.
Have patience
Hives usually have sufficient stores at this time of the season. If both boxes are light you might have to feed them syrup (to help them draw comb) or fondant (just to tide them over until the nectar flow starts).
Leave them to it. There’s nothing to be gained by ‘having a peek’. The bees will chew their way through the newspaper in 24-48 hours.
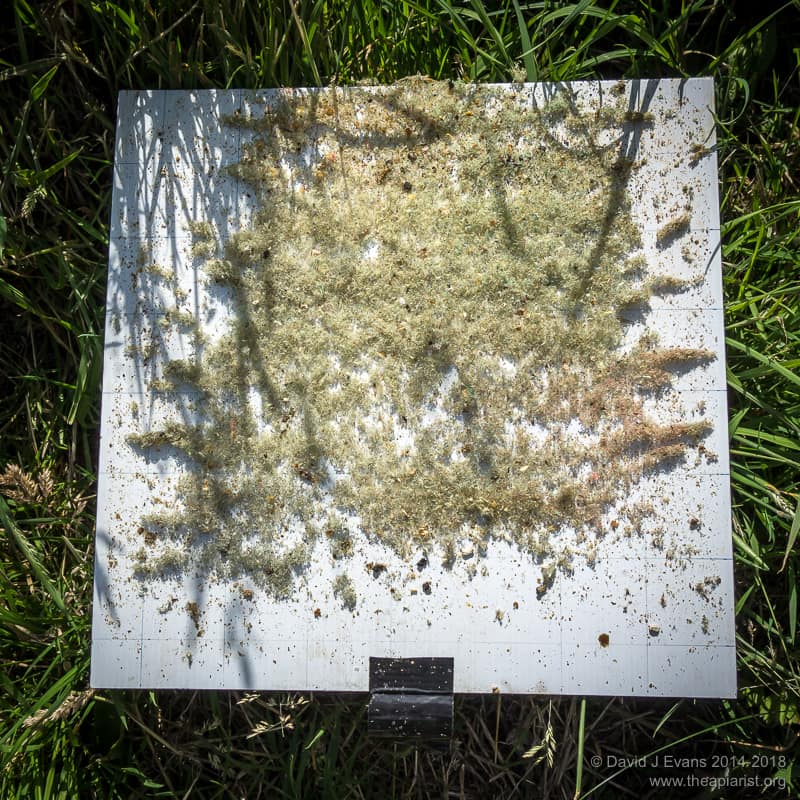
Look out for a pile of shredded newspaper falling through the open mesh floor and, after a week, continue inspections as normal.
Miscellaneous final thoughts
If the recipient hive is broodless it will end up with lots of space and empty frames. Under those circumstances I usually unite them down to a single box. Rather than adding additional frames to the top box I use a fat dummy to fill the space.
A block of polystyrene tightly wrapped in a bin bag works just as well {{11}}.
A week after uniting them rearrange the brood-containing frames with pollen and stores into a single box and remove the empty frames and unwanted second brood box.
Lost bees
How will the bees reorientate to the new location?
Don’t worry. The bees from the nuc will discover that everything is changed when they have to muscle their way through the lower brood box to reach the hive entrance. They will quickly reorientate to the new hive.
Some of the workers from the nuc will have been out foraging when you rudely removed their home. They will, in time, move to a nearby hive and blag their way in {{12}}.
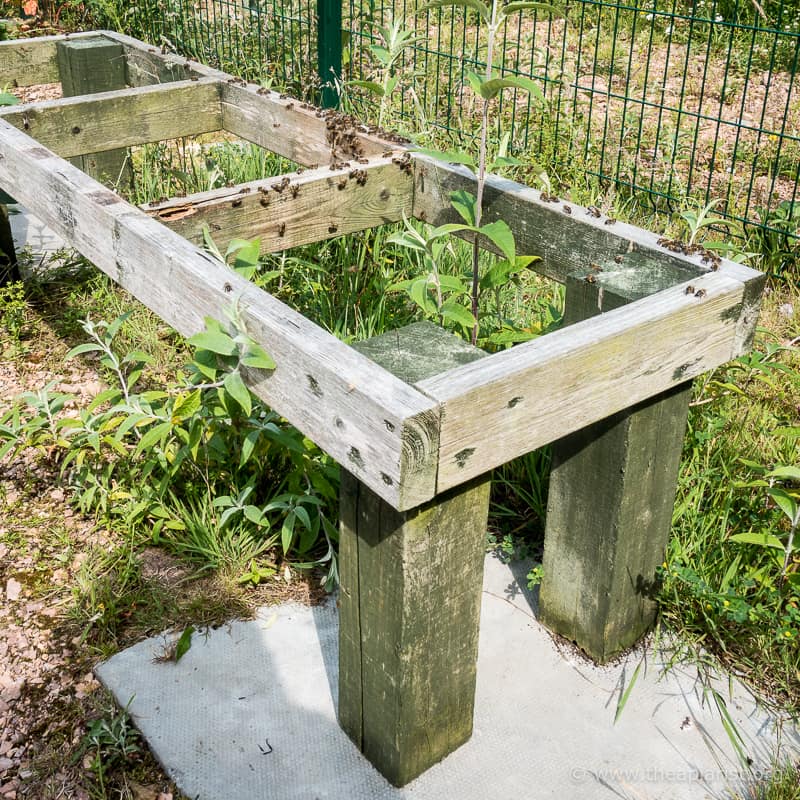
You can speed this process up by removing the hive stand the nuc was on. With nowhere to land they quickly find an adjacent hive. If I unite colonies in poor weather (or just before rain starts {{13}}) I’ll try and minimise the number of stranded bees by doing this.
For the same reason I prefer not to unite late in the afternoon to give the bees time to relocate.
Supers
When I was younger and much better organised I’d clear the supers in advance on the recipient hive. I’d visit the apiary 24 hours before I intended to unite them and add a clearer board. When preparing the recipient colony I’d put the (now emptied) supers aside, unite the colonies and then add the supers back on top (all on the same visit).
These days I’m definitely older and usually less well organised ?
If I’ve forgotten to clear the supers I’ll also unite the bees in the supers over the nuc. I separate them with newspaper as before and add a queen excluder to stop the queen moving up into the supers.
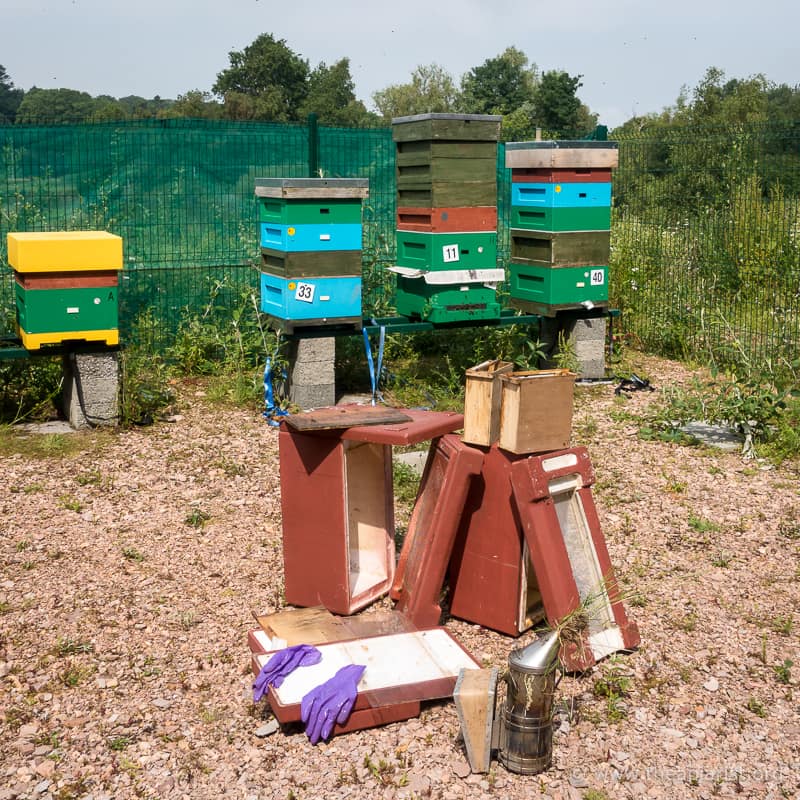
All that then remains to do is tidy up the apiary and go home for a cup of tea.
{{1}}: The phrase Big it up for X is often used to encourage an audience to show their appreciation.
{{2}}: Originally 1743, quoted by H. Fraser in Powis papers (1951).
{{3}}: Starting earlier and ending later.
{{4}}: Of course, it is possible to say it … it’s just not possible to be correct all the time (and usually results in me being corrected!).
{{5}}: But that post really needs updating.
{{6}}: If the nuc was started with a cell or a virgin this is particularly important. If the nuc was started with an older laying queen it confirms she is still performing well.
{{7}}: Nucs are almost always docile and you want the bees to be calm and untroubled by the entire process. You may be able to complete the transfer without using any smoke, but have it ready ‘just in case’.
{{8}}: David Cushman suggests this is not necessary and that the ‘bees know best’. They might, but I’m uniting for a reason after judging the quality of the queens … and I want the outcome to be as certain as possible.
{{9}}: Which you need more than they do.
{{10}}: The ones without scantily-clad soap stars on the front page.
{{11}}: Or nothing at all … but I prefer to discourage them from filling voids with brace comb.
{{12}}: They come bearing gifts – pollen, water, nectar – so will be welcome
{{13}}: Sometimes these things happen.
Join the discussion ...